If you’re a frustrated musician, looking for a stable place to practice your craft may just leave you exasperated. It can be quite discouraging to go to a remote part of the city every weekend just to rehearse in a rental music studio. The fact that you have to share it with other musicians isn’t much of a help either. If only you could have a private music room where you can practice musical freedom without the neighbors complaining, then everything will be alright.
Guess what? With today’s technology, you can now do anything at home—that includes building your own music studio. If you’ve been having some trouble about the condo design of a spare room or an idle space, you should consider designing a music room to solve two problems at once. Designing for small spaces may be quite challenging at first, but if you do it for something you love—in this case, music—then it will be an exciting activity.
Building a music studio inside a condo unit doesn’t sound easy because it’s not. First and foremost, you need to have both time and money to make it happen. You also need to have some basic knowledge about carpentry since you’ll be assuming the role of both architect and builder if you plan to do this yourself. If you think you’re up to the challenge, read this helpful guide to making a music room.
Note: This article is injected with music-related idioms. Can you spot them?
General reminders before you set to work
Make sure to do the following first before you take the hammer and start punching holes everywhere.
1. Go over the leasing contract.
Let’s face it, a music room in the condo is a privilege that not everyone can have. Even if you want it badly, you don’t always have the power to call the tune. Before you raise your hopes, review your leasing contract first to see if there is anything that may prohibit you from making drastic changes to your condo unit. If the terms are not as clear as a bell, sit with your lessor and persuade him or her to give you permission to build a music room. If you’re convincing enough, your lessor will most likely make a compromise. Just make sure that you keep your promises and you assume responsibility for the small setbacks you may cause along the way. When your lessor gives you the thumbs up, you can proceed to securing the relevant forms, permits, and other necessary documents for the renovation to push through.
2. Choose a workable space.
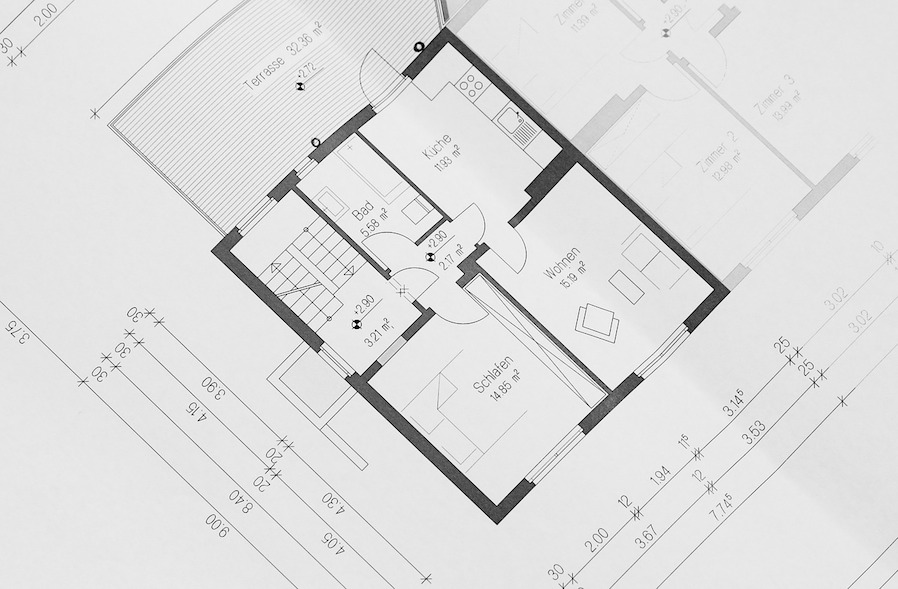
Photo courtesy of cocoparisienne via Pixabay
Many factors should go into consideration when choosing a location for your music studio. Of course, if you don’t really have a choice about this, then you could skip this step altogether. But just in case your unit is new and it’s not yet fully-furnished, here’s a tip that you should keep in mind: location is everything. To effectively soundproof a room, you need to make a lot of things come together, and location is one of them. Avoid very cramped spaces that have poor flooring and acoustics. Just visualize your music room design. Surely, you wouldn’t want to waste time, energy, and money for something mediocre, do you? If you should do this, do it right.
Get the ball rolling fast
Once you have the papers and the location, you can proceed to the actual task.
3. Prepare the room for renovation.

Photo courtesy of skitterphoto via Pexels
Before you turn your chosen location (possibly a small corner in your condo) into a musical paradise, you need to make it as clean as a whistle first. Clear off all floor space and remove everything that is on the walls. You want to start from scratch so any object that can get in your way should be relocated.
4. Buy the necessary materials.

Photo courtesy of rafabendo via Pixabay
If you are under the impression that soft materials like egg crates, bed sheets, mattresses, blankets and styrofoam are all you need to muffle the sound from your music studio, you’re highly mistaken. That myth has been debunked by experts a long time ago. The truth is, there is no inexpensive way to create a soundproof room that will hide the noise from irate neighbors. The only answer to the problem of sounds escaping through the walls is to create an airtight interior space, and as you know, it takes a lot more than just a few bucks to make that happen. Always remember the number one rule of construction: OVERESTIMATE.
Get your hands dirty and build that music room
With all the necessary materials in place, you’re now ready to jazz up that idle space.
5. Apply acoustic treatment.
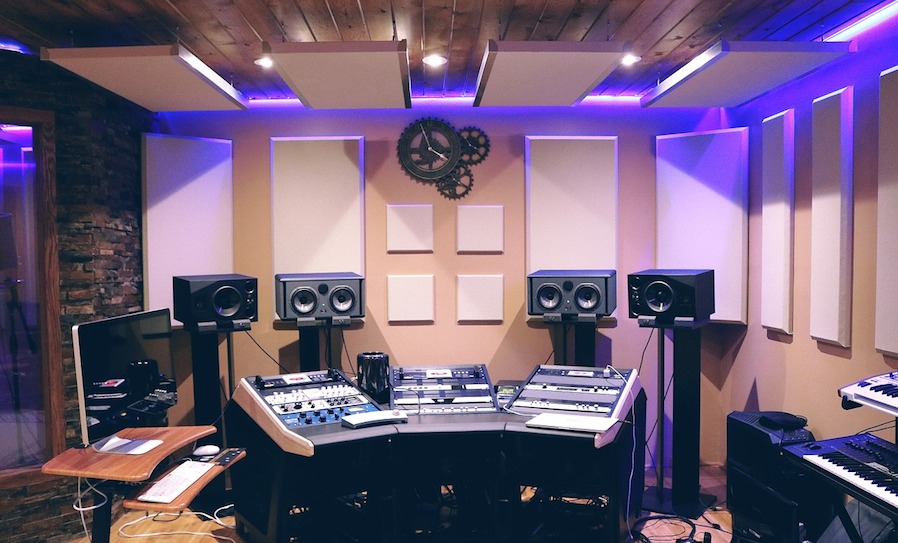
Photo courtesy of DayronV via Pixabay
A music room is useless without acoustic treatment. You need to have elements like bass traps, acoustic panels, and diffusers in the room in order to balance the sound frequencies. Otherwise, all you’ll have is a listening environment with inaccurate frequency responses that will ruin your sessions. Make sure that your music room is fine-tuned when it comes to sound diffusion and absorption. For this purpose, hardboard sheets, mineral wool slabs, and dust sheets will do. Consult a professional for the right dimensions.
After tuning your room, you are now ready to do a step called decoupling, which leads to the the most popular form of constructing a music studio: the room within a room. The purpose of this is to minimize the sounds slipping through the cracks in the ceiling, the walls, and the floorboards. The concept of a room within a room is to create a smaller section that has minimal contact with the six sides of the larger room. This helps to make the smaller room more airtight since the sound produced inside remains inside. Of all the ways on how to create a music room in the condo unit, this one is by far the most effective.
6. Add ventilation while preserving airtightness.

Photo courtesy of MemoryCatcher via Pixabay
The main problem with an airtight room is poor ventilation. Naturally, you wouldn’t want a big window in there since it would just defeat the whole purpose of the room. Instead of a window, you could leave a provision for an air vent so there would still be natural air inside the music room. Place the vent strategically to avoid direct heat from the sun especially during summer.
Almost done!
One more step before you tickle the ivory.
7. Set up your gear.

Photo courtesy of Baohm via Pixabay
Now that your studio is all set, you can arrange your musical instruments however you like. You can check on some condo interior designs to give you an idea of how to decorate your new musical haven. Aesthetics can inspire you to create better music, so don’t underestimate its power. Let your music room wear your personality.
Hopefully, this guide will help you achieve the musical freedom you’ve been longing for. It doesn’t matter if you’ll use your music room as a personal lair or as a rehearsal space for jam sessions. What’s important is that you can now pursue your passion with bells on.
See you on the big drum!
P.S. How many idioms have you found?


