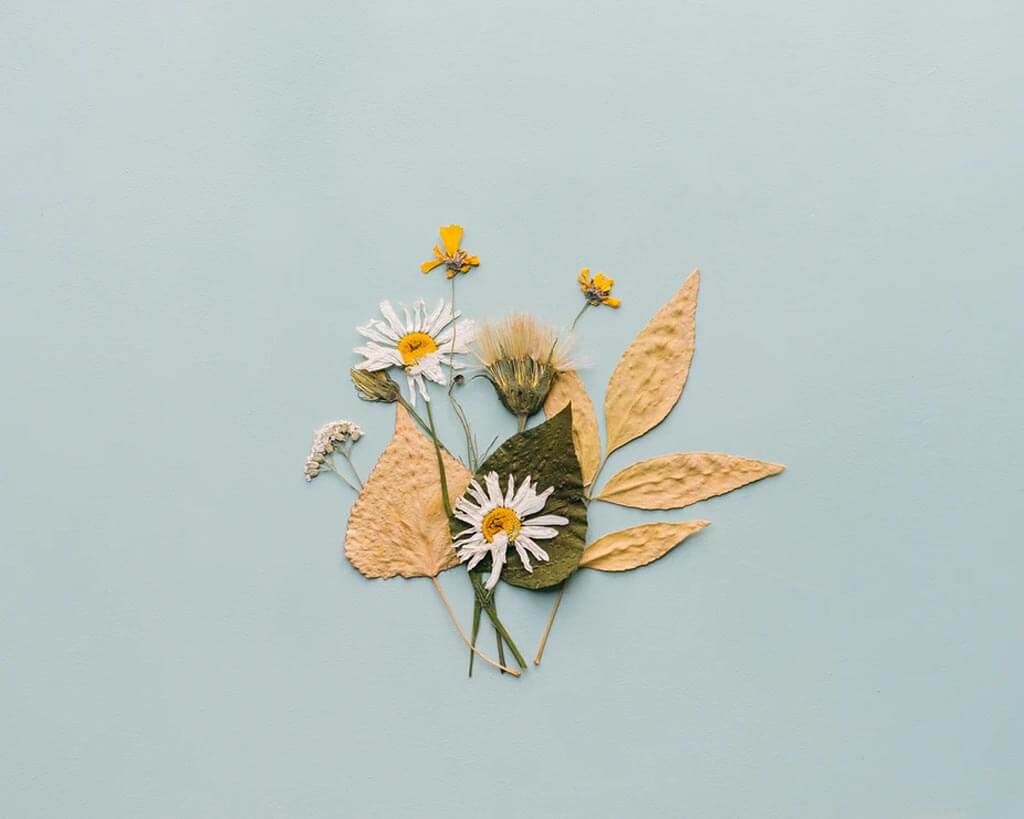
Pressed flowers and leaves refer to preserved plants perfect for plantitos and plantitas who want to elevate their home’s ambiance with green foliage and vegetal life without the hassle of learning gardening techniques.
Indoor plants offer lots of value in a home but not everyone is blessed with a green thumb to attend to its tedious demands. If you lost count of the number of plants you unintentionally killed, then pressed plants may be the option for you.
Pressed plants are perfect for those who don’t have the luxury of time to include daily gardening in their schedule. Flowers, leaves, and moss at the prime of their lives are cut and collected to make pressed plants. This is why they retain their best qualities even after a long time. They require no maintenance, no watering, and no intricate horticultural knowledge.
Even if there’s a large variety of functional and decorative plants to choose for your condo, maintaining them requires dedication. So if this isn’t working for you, then try these steps on how to press and preserve flowers and plants at home. This list will teach you how to practice your skills in arts and crafts while learning the art of pressing plants.
Make flowers everlasting
Pressing and preserving different kinds of flowers such as roses, baby’s breaths, hydrangeas, and peonies could easily be done at home with accessible materials. Different colors of preserved flowers make for attractive arrangements that you can place in various areas of your condo such as on the center table of your living room.
Pressed roses make perfect gifts to signify your everlasting love to a special someone, while everlastings can be made into necklaces you could use to adorn your display of religious figures or decorative statuettes.
Learn the proper way of doing each method through the following instructions.
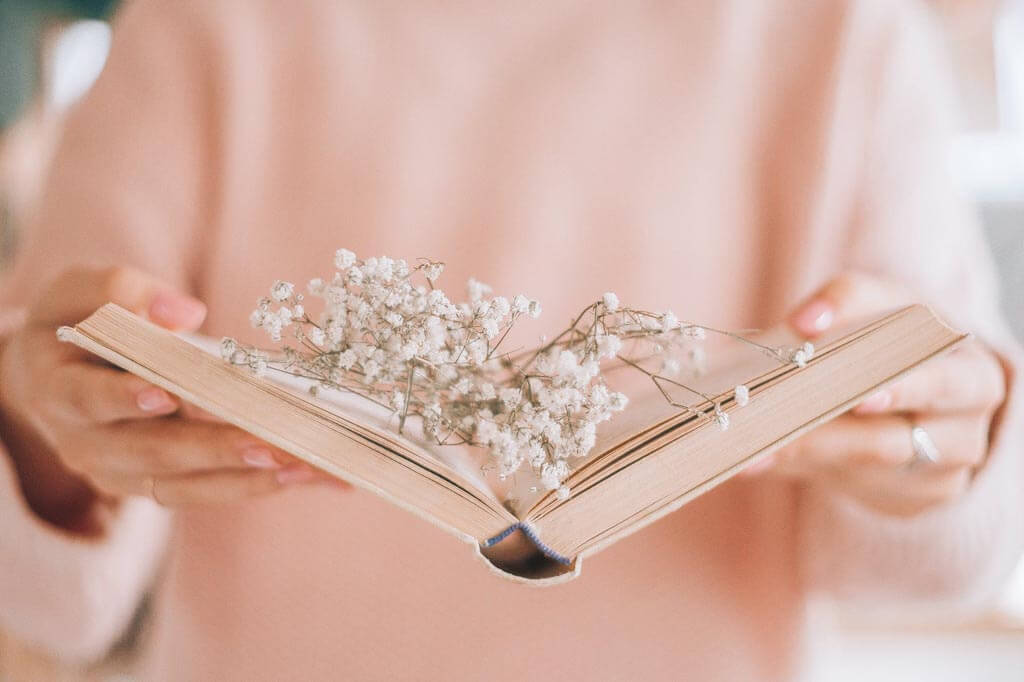
1. Pressing flowers the old-fashioned way with books
Materials needed:
- Freshly-cut flowers
- A telephone book or a coffee table book
- Two sheets of bond paper
- A heavy cardboard
- Any heavyweight material such as a rock or a dumbbell
Procedure:
- Prepare the freshly-cut roses you intend to preserve. Make sure they don’t have droplets of water. Dry them under the sun for a few minutes to make the pressing procedure more successful.
- Open the telephone book at the center. This is where you will place the flowers that will undergo the pressing process. If you don’t have a telephone book, use a coffee table book with a hardbound cover instead.
- Put a bond paper on the page of the book where you’ll be placing the flowers.
- Lay and arrange the roses on the bond paper you placed on the book’s page. Arrange them neatly making sure the flowers aren’t on top of each other.
- Once the flowers are aligned, place another bond paper on top of the flowers then begin the pressing process by closing the telephone book.
- Place flat hard cardboard on top of the book. This will act as a platform on which you’ll place a heavy object such as a rock or barbell plate for the flowers to be thoroughly pressed.
- Be patient. You can check the flowers once a week to see if they are dry. Although as much as possible, do not disturb the process. Three weeks should be ample time for the flowers to be dried and pressed.
If you prefer to press flowers without having to wait long, then another option you may try is the microwave method. Now, this may seem odd but it’s a quick and efficient way to remove the moisture from your flowers which is important if you intend to preserve them. Who knew the microwave had other uses?
2. Pressing flowers using a microwave oven
Materials needed:
- Flower blooms with its stems removed
- A microwave oven
- A flat ceramic plate
- Paper towels
Procedure:
- Prepare the flowers you want to press. If their stems are still attached, remove them using a pair of scissors.
- Lay a piece of paper towel and place the flowers on it.
- Add another layer of paper towel to cover the flowers. Then place everything inside the microwave oven.
- Place a flat microwavable ceramic plate on top of the paper towel covering the flowers. The plate will act as a weight that will press on the flowers as it heats up.
- Set the microwave heat level to low then let the flowers dry up for 20 to 30 seconds. The length of time varies with different flowers so it’s a good idea to experiment first to make sure you get the right setting.
- Let the flowers cool off for a while before you get them
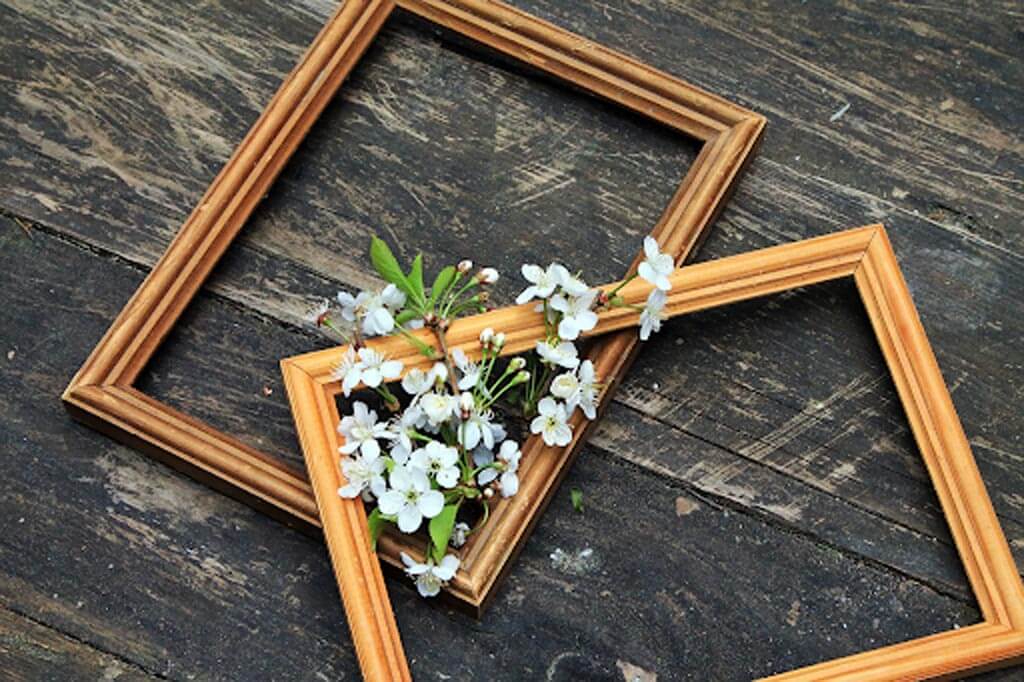
The best way to make use of these dried and pressed flowers as home decor is by putting them inside wooden picture frames that you hang on a wall in your condo for a dainty touch-up. This is just one of the various plant setups you could try at home.
Pressed flowers could also be used when crafting different trinkets and designing accessories such as your cellphone case. The microwave method allows you to quickly cook up and create these wonderful ornamental flowers you can use in a variety of ways. Just be sure you don’t eat them!
3. Preserve leaves with glycerin
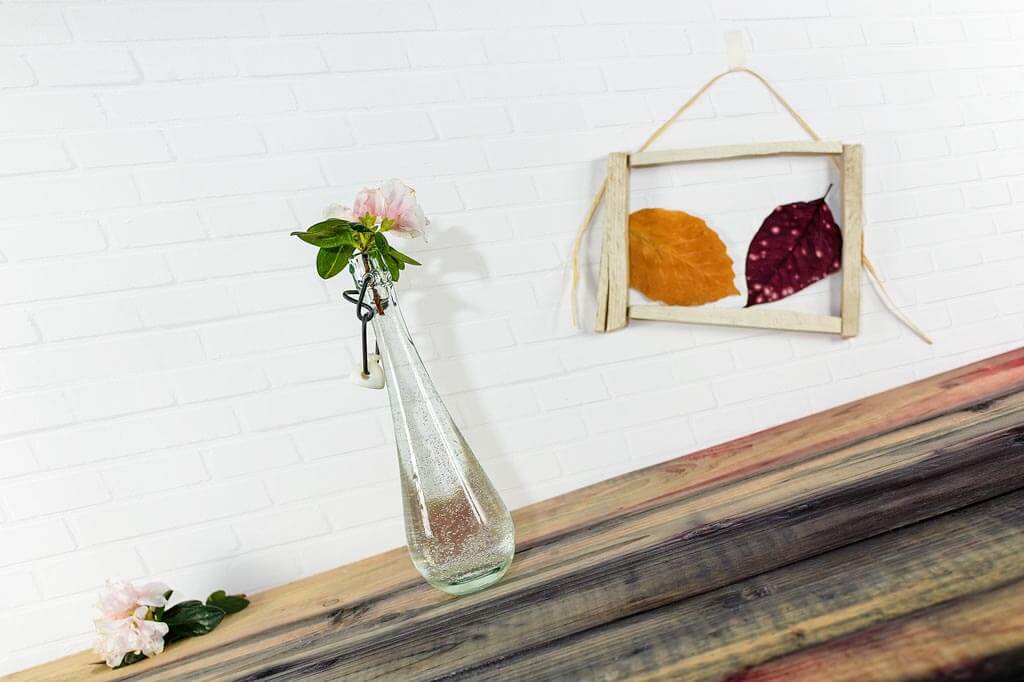
Dried and pressed leaves may be used for intricate wall art in your bedroom to give it that autumnal feel. Green leaves meanwhile may be used with your pressed flowers to make the colors pop especially if you place them together in wooden frames.
The quality of pressed leaves you’ll create depends on the quality of what you’ll collect. Go out on a dry day and collect leaves that aren’t already bereft of moisture as these will just crumble when you try to press them. Do not wash them with water as it adds moisture. Instead, simply remove the dirt using a towel or a cloth.
The process of preserving leaves is the same as pressing flowers earlier mentioned through the old-fashioned book method and the microwave method. However, you may still try the following if you want to focus on lengthening the longevity of the leaves you want to use as home decor material.
Materials:
- Leaves
- Glycerin
- A flat pan
- Water
- Glass baking pans
Procedure
- Clean the leaves using a cloth to get rid of dirt. Remove its stems using a pair of scissors.
- Mix glycerin and water following a 1:2 ratio in a flat pan. Glycerin is a chemical that will preserve the color and freshness of the leaves. It can easily be found in hardware stores.
- Submerge the leaves you want to preserve in the glycerin water solution. Use a glass baking pan or any flat material that will keep the leaves submerged in water.
- Leave the leaves submerged for 3 to 5 days before taking them out and letting them dry under the sun.
Again, placing the leaves with flowers on a frame makes the contrasting colors pop. You may also opt to create leaf stamps. Simply lay the dried leaves on a white canvas frame that you can buy from any art store. Paint the front and back of the leaves then press it onto the white canvas with the help of a paper towel to make a leaf stamp and impression.
Pressed flowers and leaves are perfect for busy people like you who do not have the luxury of time to propagate plants at home. Not only do they stay preserved for a long time, it is also a statement about how creativity can make your condo eco-friendly.
4. Green interiors with preserved moss
If you're missing the outside world thanks to the quarantine, why not bring in nature to your home? Preserved foliage moss panels are a great option with its soothing and relaxing green palette. Unlike flowers and leaves, preserved moss is difficult to make at home as it involves the propagation of the moss as well as various chemicals. But don’t worry, interior moss panels are available online.
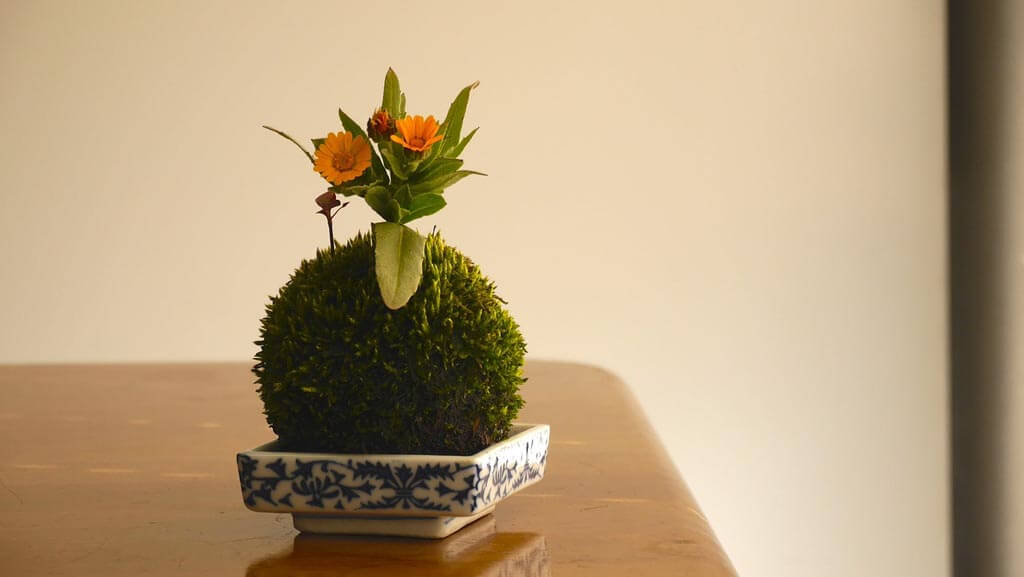
Preserved moss can also be made as centerpieces to infuse zen in any room. It’s perfect for condo owners looking forward to meditating after a stressful work-from-home setup. It’s also a great alternative for succulents and cacti that are quite difficult to take care of. What’s great about preserved moss is that it will remain fresh all year round as it doesn’t require any effort to be maintained.
Now that you know how to press and preserve plants, start decorating your home with these treasures from nature. Preserved plants barely need attention but there are still things you need to remember to care for dried plants such as keeping them out of direct sunlight.
Never kill another plant again by shifting to preserved and pressed plants. Not only do they eliminate the hassle of gardening, but you also get to enjoy their beauty longer. Apply your creativity by creating pressed flowers, leaves, and moss the next time you consider designing your home interior.